Create an Alert
Learn how to create an alert
Accessing the Alerts Page
- Log in to your Scout account
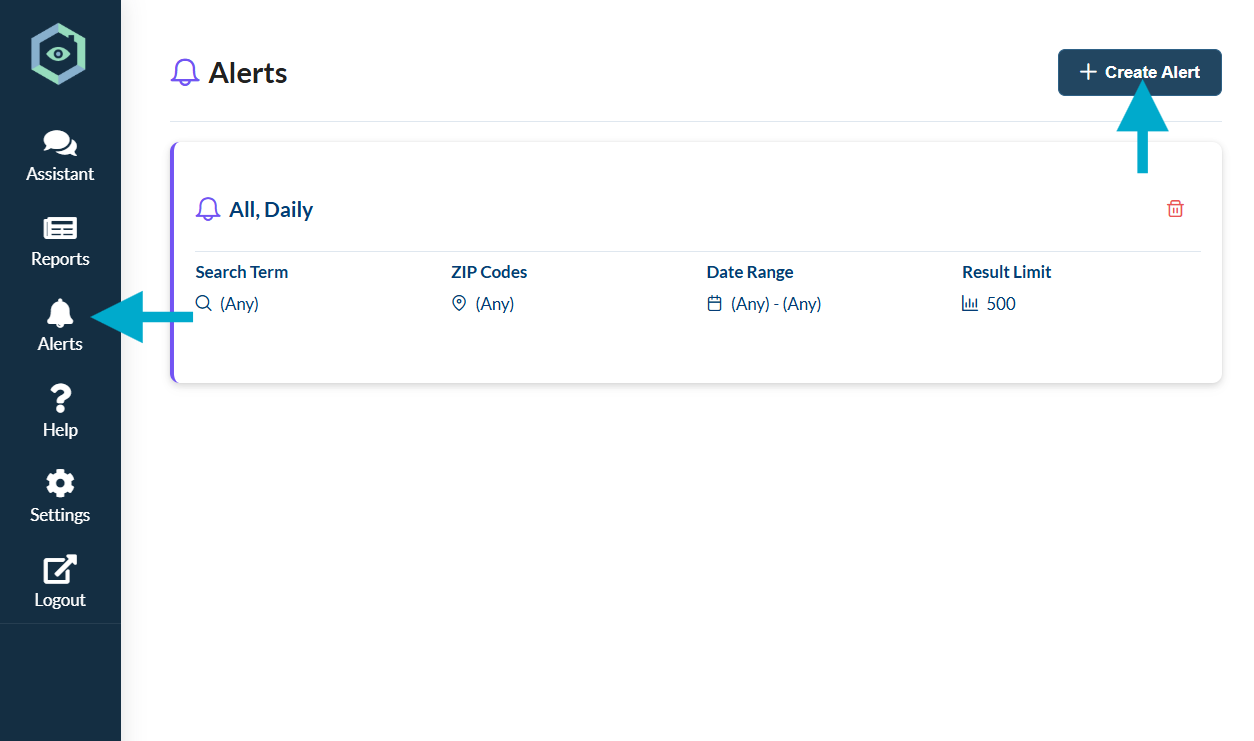
- Click on the "Alerts" tab in the main navigation menu
- Click the "Create New Alert" button in the top right corner
Setting Up Your Alert
When creating a new alert, you'll need to provide the following information:
Alert Name
Give your alert a descriptive name that will help you identify it later.
Search Criteria
Enter the business information you want to monitor for:
- Business name patterns
- Industry type
- Business size
- Other relevant identifiers
Tags
Add relevant tags to help organize and categorize your alerts. Tags make it easier to manage multiple alerts.
Location
Define the geographic area you want to monitor:
- City
- State
- Zip code
- Or a specific radius around a location
Notification Settings
Choose how you want to be notified when new businesses match your criteria:
- Email notifications
- Frequency of updates
- Time of day for notifications

Submitting Your Alert
Once you've filled in all the necessary information:
- Review your entries to ensure everything is correct
- Click the "Submit" button to create your alert
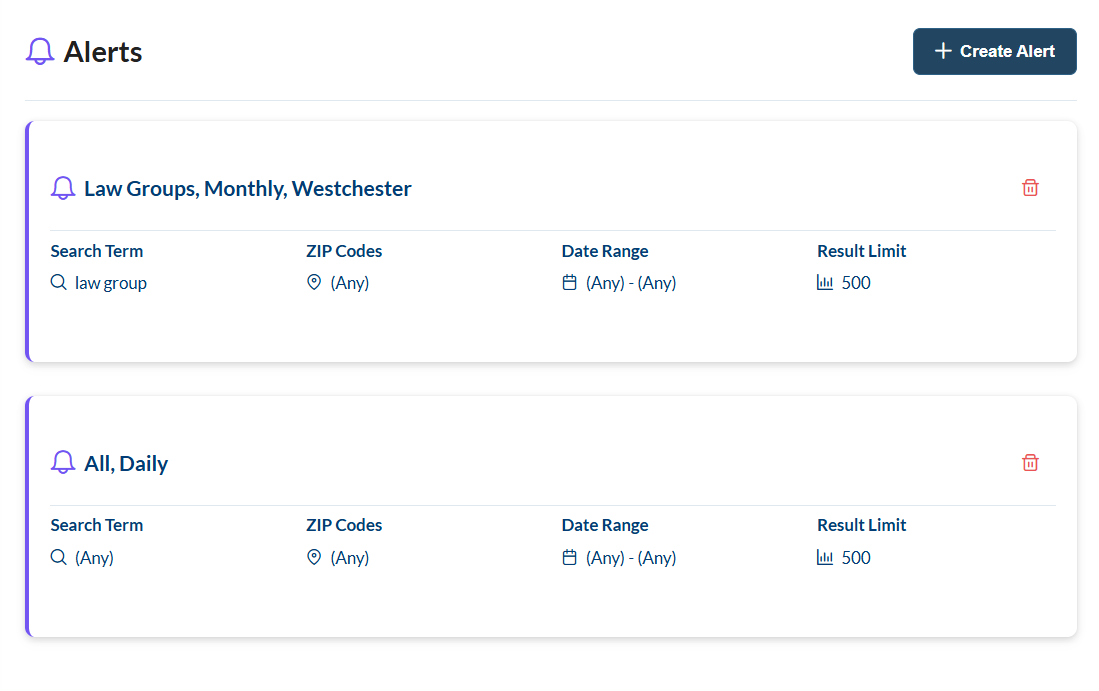
- You'll be redirected to your alerts list where you can see the newly created alert